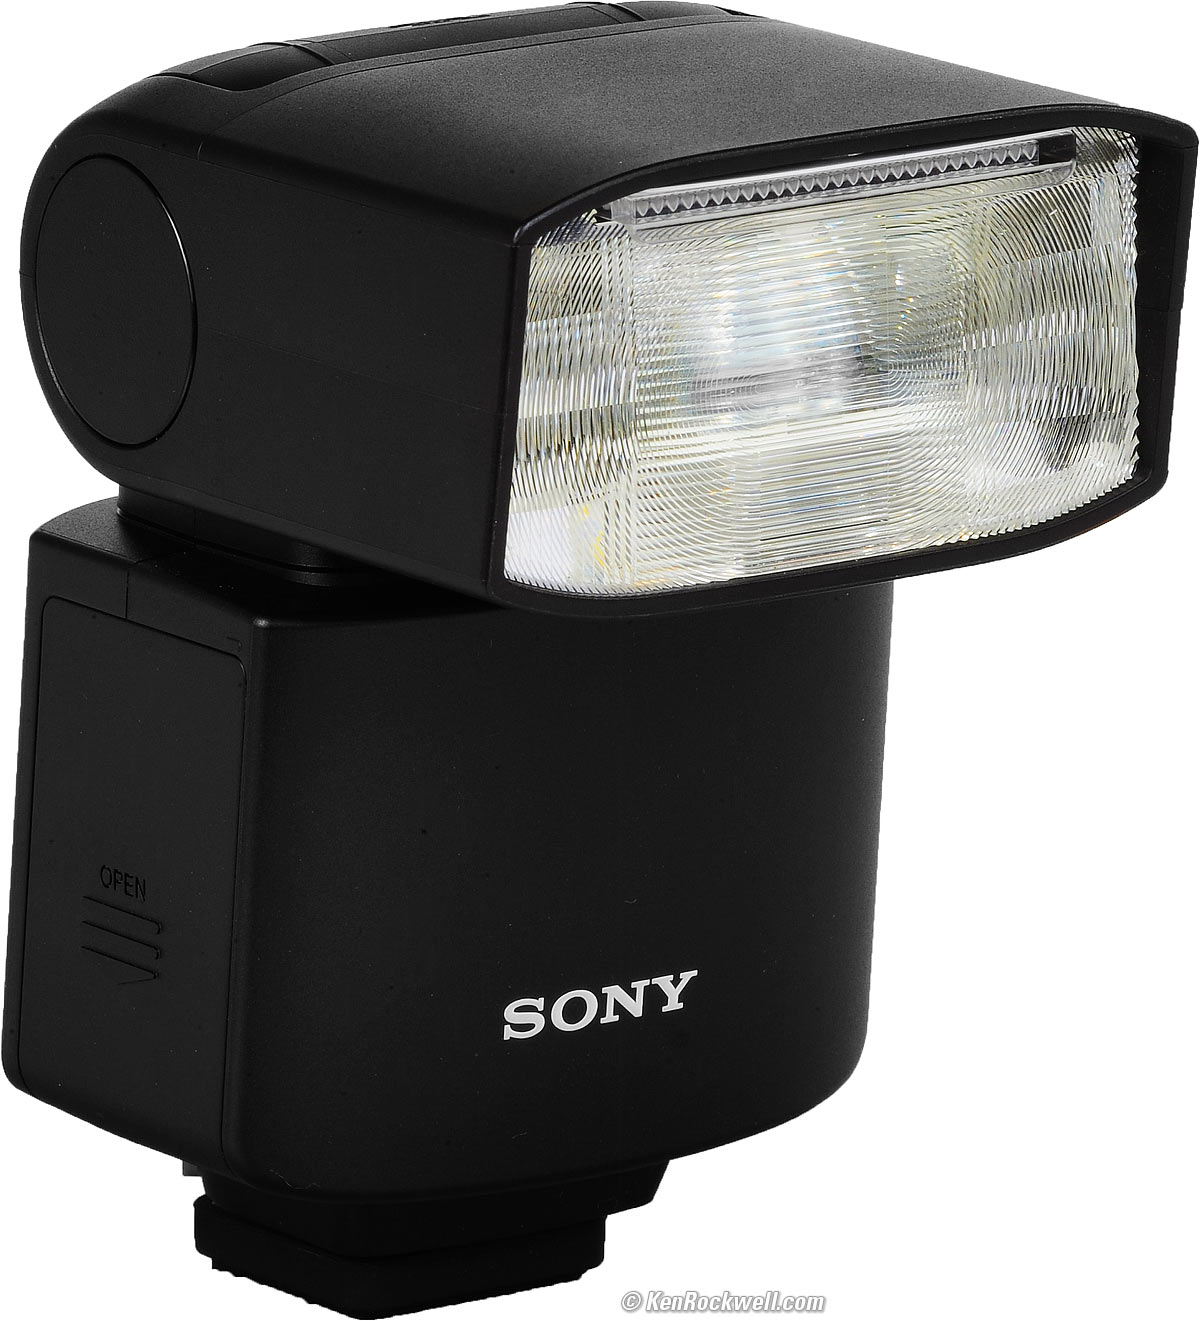
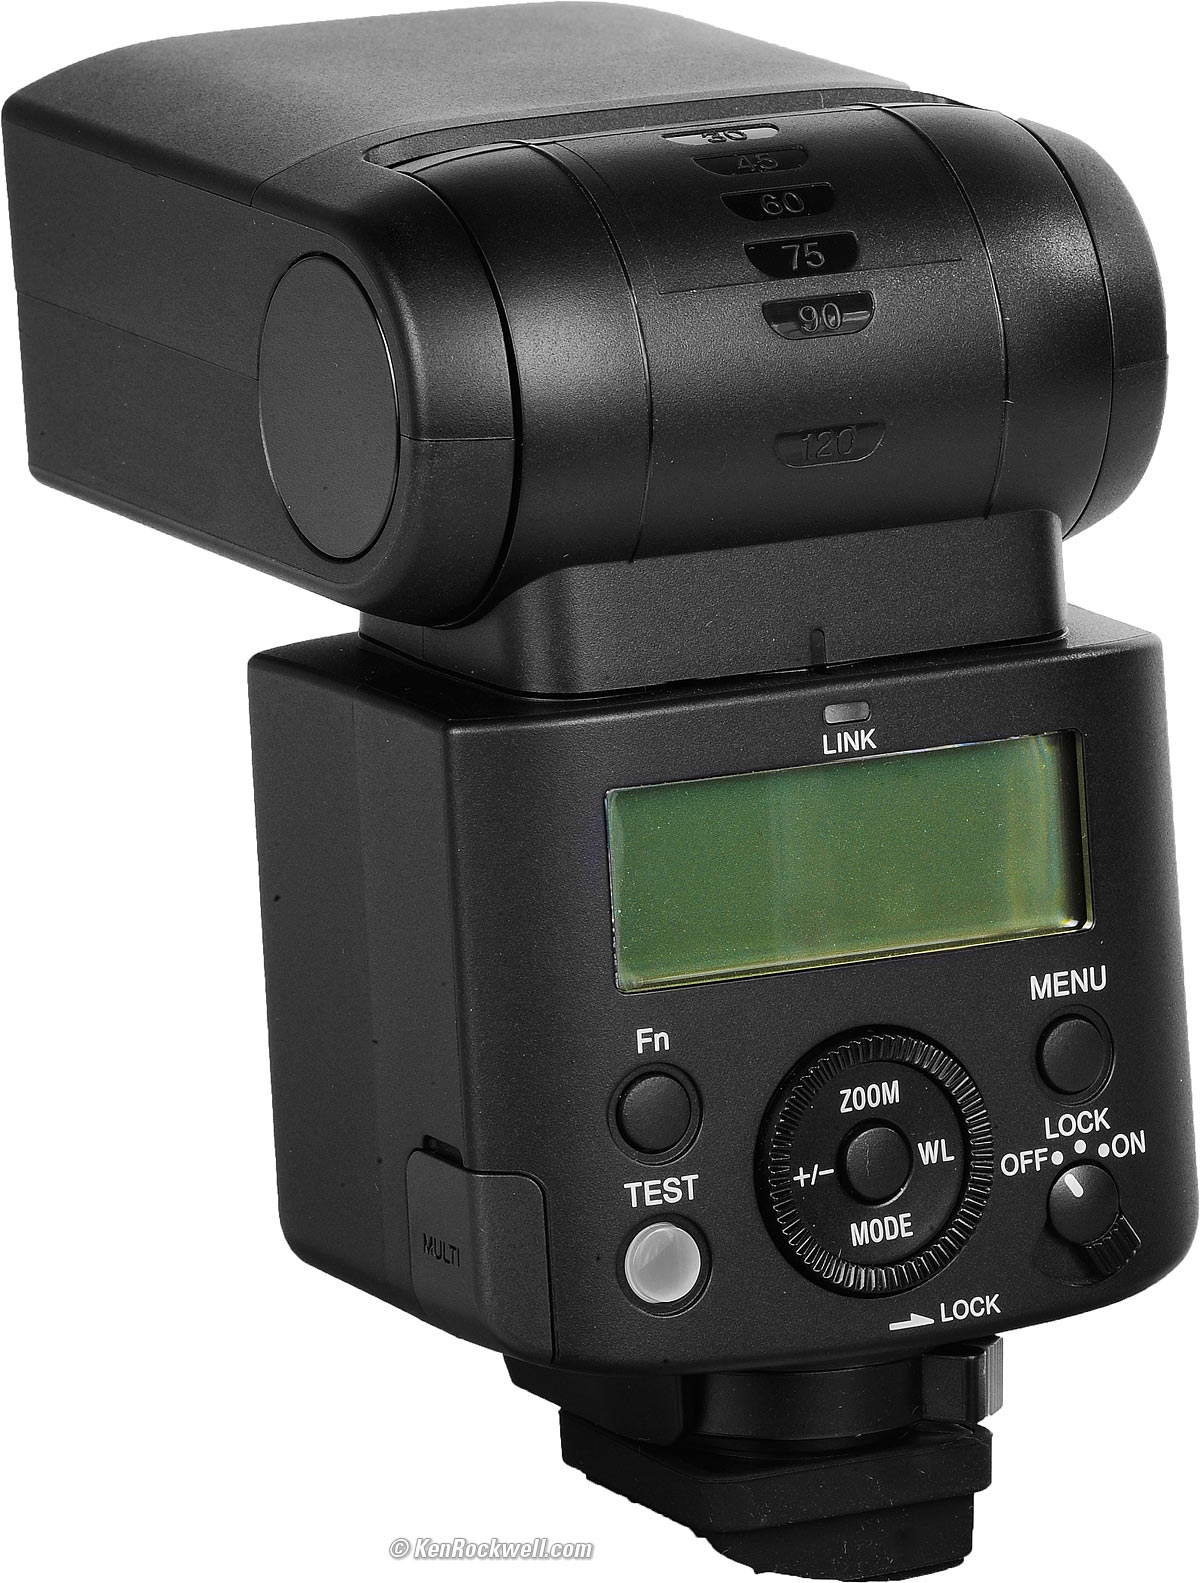
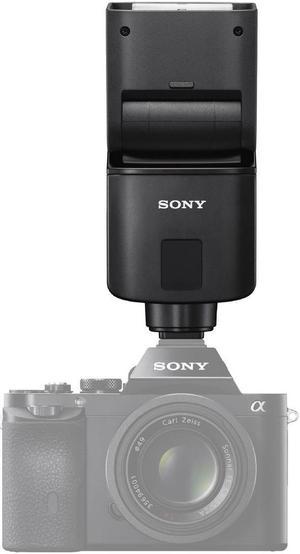
Sony HVL-F46RM Review & Sample Images by Ken Rockwell
4.5
(746)
Escribir comentario
Más
€ 49.99
En stock
Descripción
Sony HVL-F46RM Review & Sample Images by Ken Rockwell
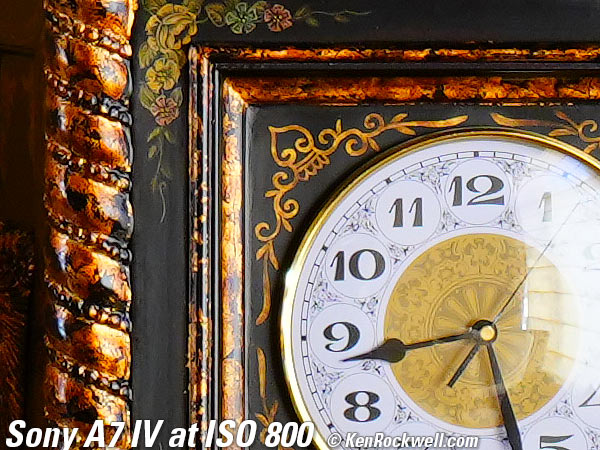
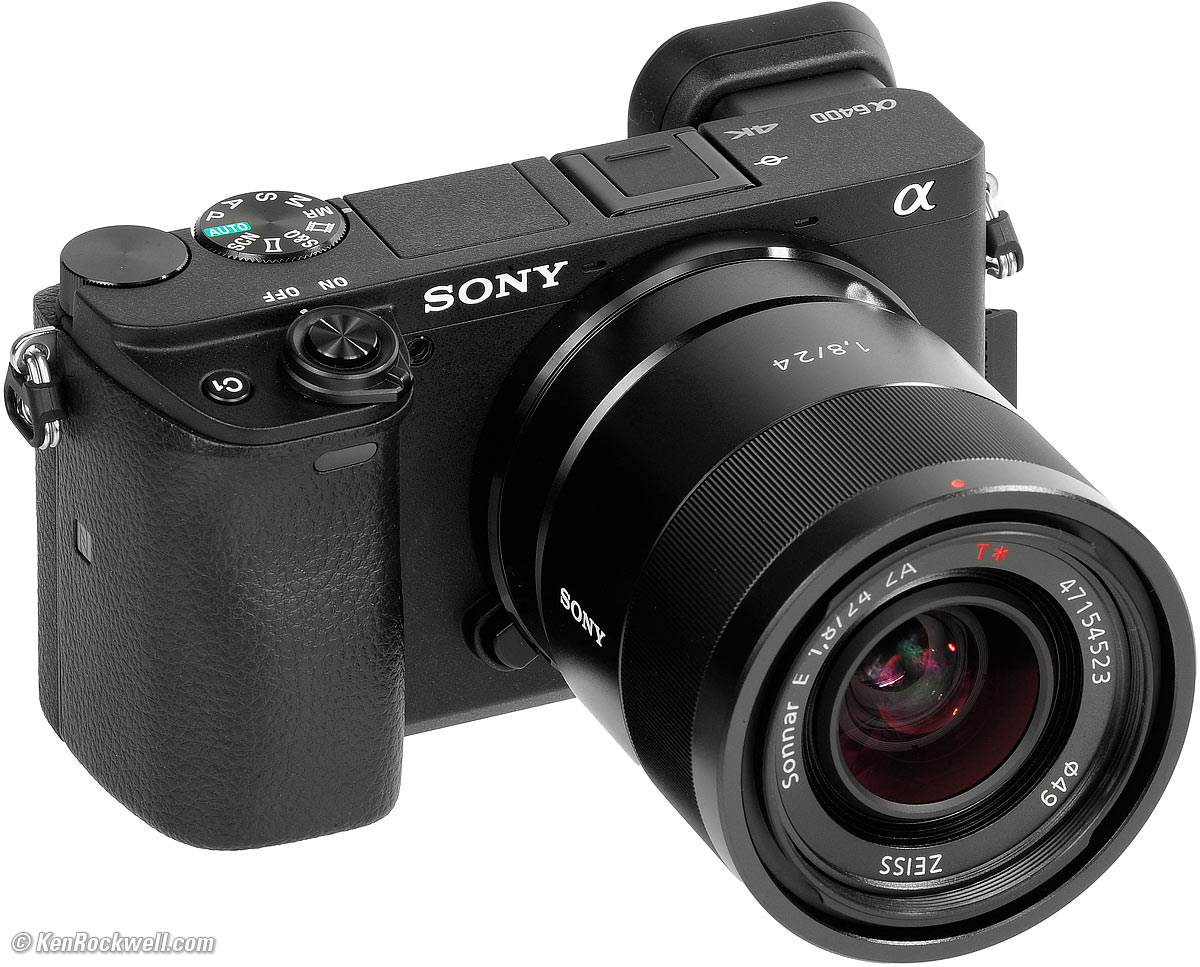
Sony A7 IV Review & Sample Images by Ken Rockwell

Sony HVL-F46RM Review & Sample Images by Ken Rockwell
Sony A7 IV Review & Sample Images by Ken Rockwell

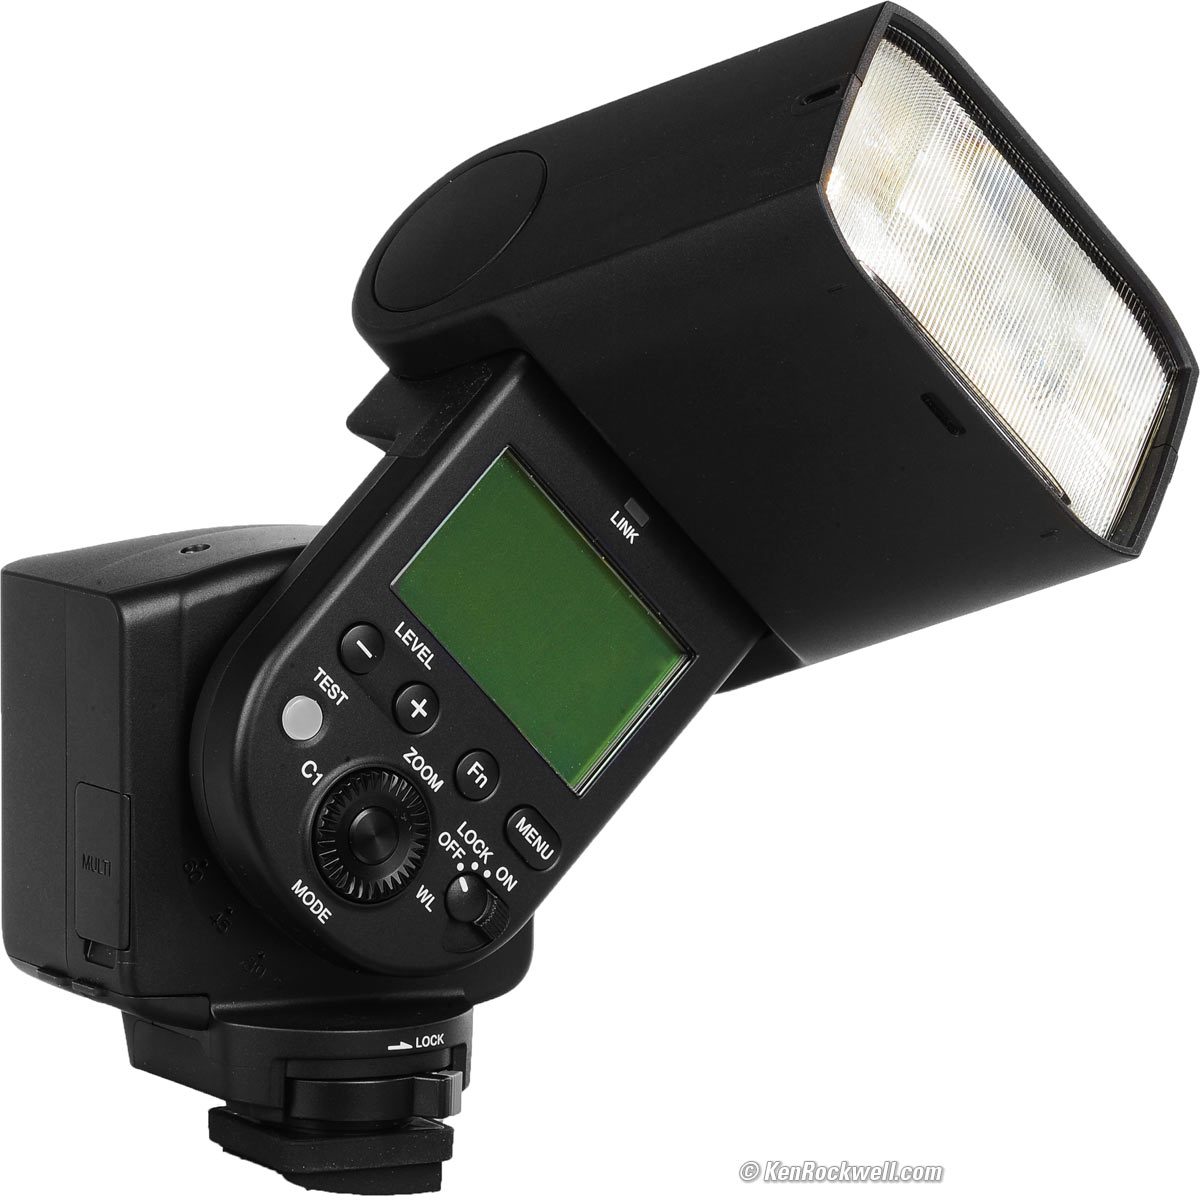
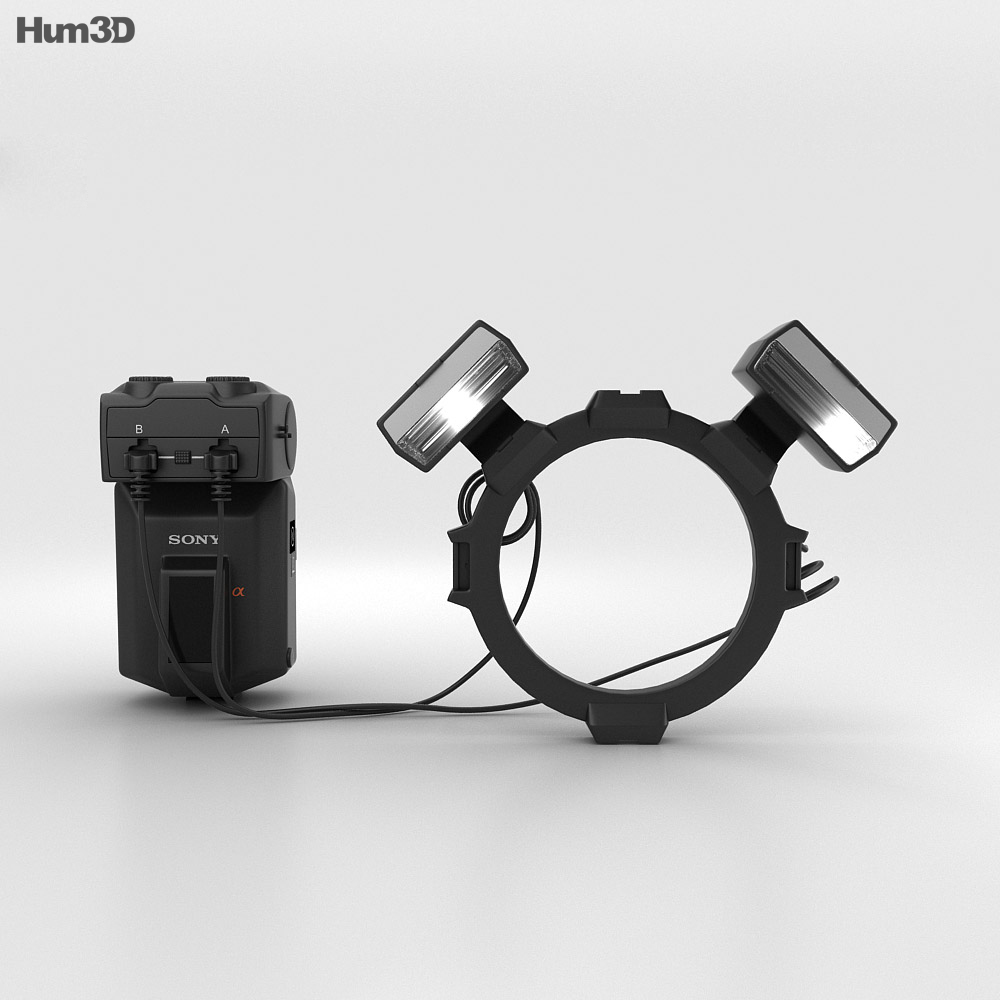
Sony HVL-F60RM2 Review & Sample Images by Ken Rockwell
Ken Rockwell's Photography News
Ken Rockwell's Photography News
Ken Rockwell's Photography News
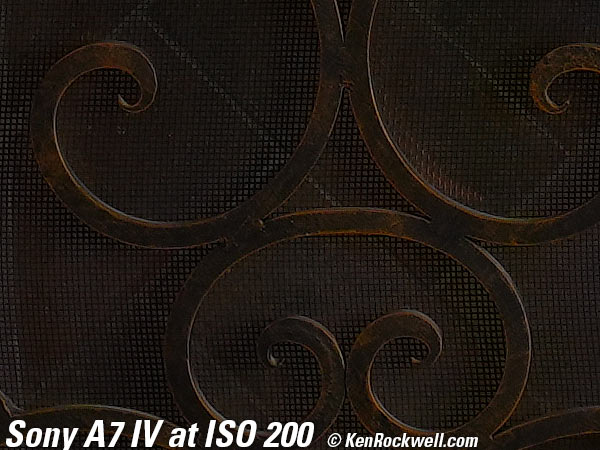
Sony A7 IV Review & Sample Images by Ken Rockwell
Sony HVL-F46RM Review & Sample Images by Ken Rockwell
Sony Reviews by Ken Rockwell

HVL-F60RM2/HVL-F46RM

Sony Reviews by Ken Rockwell
Sony Reviews by Ken Rockwell
Sony HVL-F60RM2 Review & Sample Images by Ken Rockwell
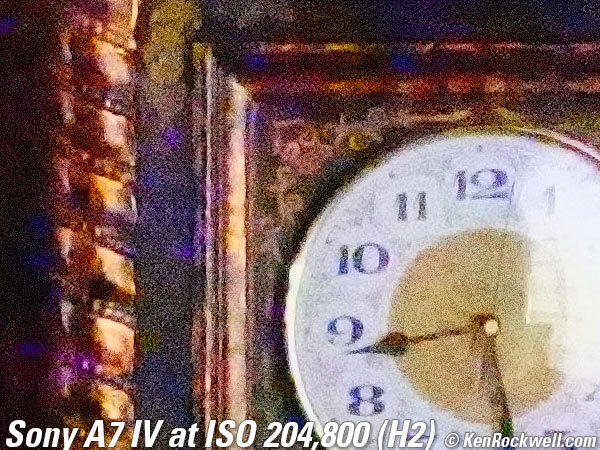
Sony A7 IV Review & Sample Images by Ken Rockwell

También te puede interesar